Airtable App Stack - How to Build an Airtable Extension

Introduction
My idea of building an Airtable App comes from the previous post where I discuss different marketplaces and their pros and cons. So now I built one and here is how I did that.
Frontend and Blocks SDK

Technology
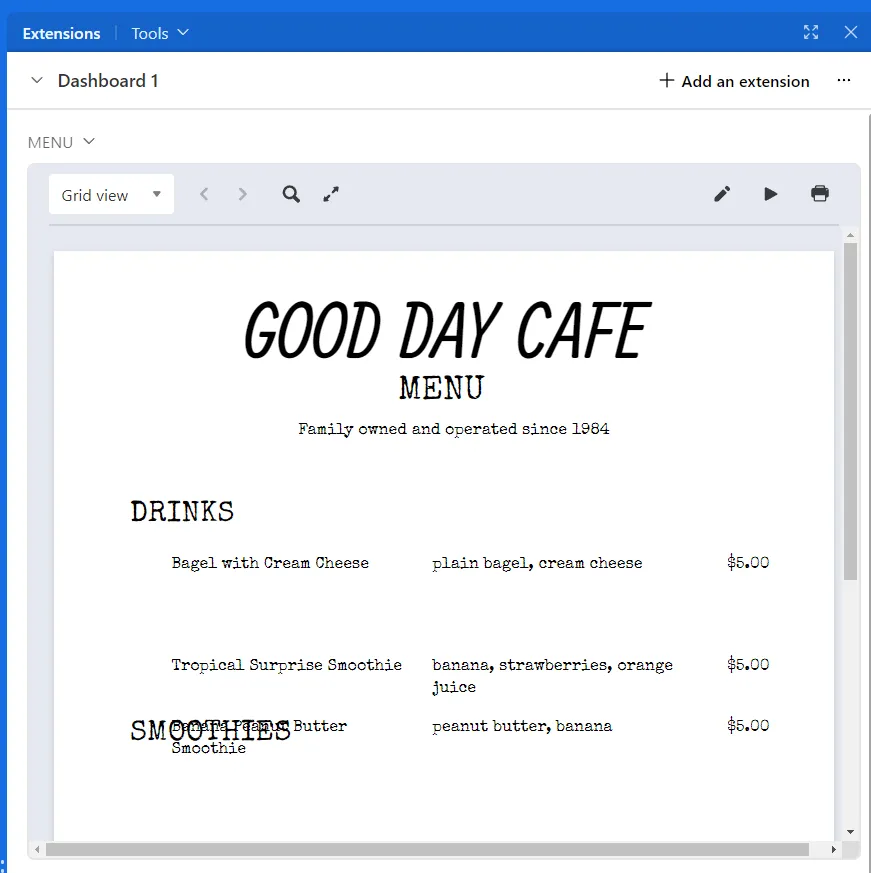
The basic way of even building an app for Airtable is using a Block. This is a small iframe that you can pull out via an extension drawer. Within this frame, you can do anything. Outside, you need the SDK or API to manipulate anything. Because the SDK is React-based, I also built the app on React.
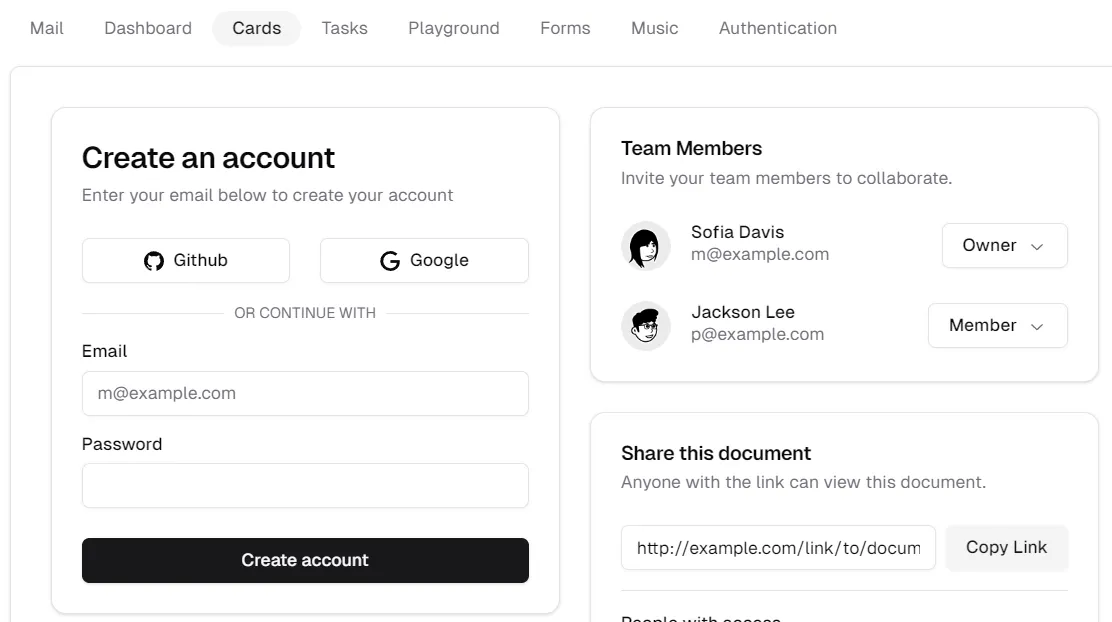
As I started developing solutions, the Airtable component library became limiting pretty fast, and was hard to make pretty. But because there is a lot of freedom to how you can do things (as opposed to on Shopify), I found an amazing library shadcn/ui with radix-icons to build my interfaces.

Backend
Technology
For backend, you can do anything you want, or even go without one if possible. There is a lot you can do without one. But for the solution I built, it was unavoidable. I opted for a Spring Boot solution that served many endpoints, including the intermediation to the SQLite database through JPA queries.
I also used Guava, Lombok, Flyway, Webflux, and Spring-Dotenv.
OAuth, CORS, and CSRF
I reused Airtable’s OAuth tokens to authenticate my own endpoints as well, because all the security I needed was to verify the authenticity of the user, and didn’t care about authorization, because this was handled differently. Since I had that, I could pretty much stop caring about CSRF (Cross-Site Request Forgery). With CORS (Cross-Origin Resource Sharing), I used the same tokens for the important endpoints, and set no-CORS for the more public ones. It did need some tricky guesswork to understand which endpoints the requests come from the clients.
Honestly, setting up authentication filters, providers, etc. on Spring Boot was a headache. I have no idea why it has to be so complicated.
Health Check
I added a health check endpoint so UptimeRobot can tell me when something’s wrong.
Emailing
For the email API provider, I went with Sendgrid right now, which is pretty straightforward to set up fortunately. This was the least time-consuming part of the project.
Billing
For billing, the choice was between Lemonsqueezy, Paddle, and Gumtree. Paddle seemed to be the lowest-cost provider, but I think I wouldn’t know that for sure unless I have had more experience with them.
There was a lot of debugging with Paddle on the frontend side that I put on this blog site, because their documentation isn’t their strong suit. But nonetheless, I got it done with their webhooks arriving at another controller in the backend, so I can create a subscription in my database and email the key to the user.
Later, the user can input that subscription key within the frontend’s UI.
Hosting
I know most of the world has smoothed into AWS and other such cloud providers, but I like the freedom and low cost of having your own virtual machines. So I deploy a docker container to my Hetzner VM where the backend and database is served. The frontend is deployed straight to Airtable using their CLI, just like in Shopify.
Other Thoughts
Building on Airtable was a breath of fresh air compared to what I had to deal with on Shopify. Airtable at least trusts you to figure out your own stuff and does not force you to follow very strict and limiting safety bumpers that slow down development more than help you do things right faster.
I am also happy not to have had to write backend in Node, because I really think that is not the right tool for the job in most cases.
I think I’d estimate all the scaffolding and support work around the main app to have been 2/3 of the work. So I can assume that given the same app complexity level, I’d be able to launch the next one three times as fast.
Write to me if you’d like any more details about any specific process!